When testing or using various Python packages, the risk is that the new packages mangle the current Python installation, or, are in conflict with the current Python installation. Python virtual environments are an answer to solve this kind of problems.
A Jupyter notebook uses a “base” installation when the Anaconda distribution is installed. How to use a Python virtual environment in a Jupyter notebook?
After some searching I’ve found a blog of “janakiev” which describes the steps clearly: https://janakiev.com/blog/jupyter-virtual-envs/
Summarized:
Example: Python virtual environment ‘pytorchpy4’ for PyTorch development:
- Open a command line terminal (I’m using iTerm on a Mac).
- Create your virtual environment with conda:
conda create --name pytorchpy4 python=3.8 - Activate the Python virtual environment:
conda activate pytorchpy4
- Install PyTorch according the installation steps on the PyTorch site.
- Install ipykernel with pip:
pip install --user ipykernel - Add the Python virtual environment to Jupyter:
python -m ipykernel install --user --name=pytorchpy4
See “janakiev” for more specific commandlines to manage Python virtual environments.
Test by open the Anaconda Launcher and open a new Jupyter notebook with the virtual environment ‘pytorchpy4’ (see figure 1). 
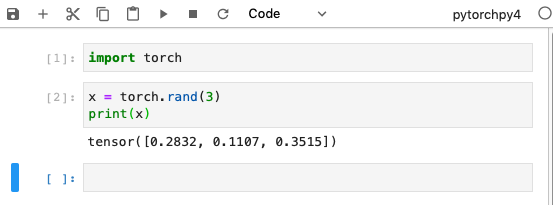
Test the Jupyter notebook and included virtual environment by importing torch and create a random tensor vector (see next figure 2).